3D Renderer
After spending a few months working on my RHI and reaching a state where I can get an output frame from it, I decided to put it to the test to see how good the API really is.
My first thoughts in testing my RHI to make a renderer was to task AI to do it, and see how well it could use my API. This would be both a test to see how capable my RHI is and to also see if there are any hacks/workarounds that AI would have to do to do something. The results were pretty interesting:
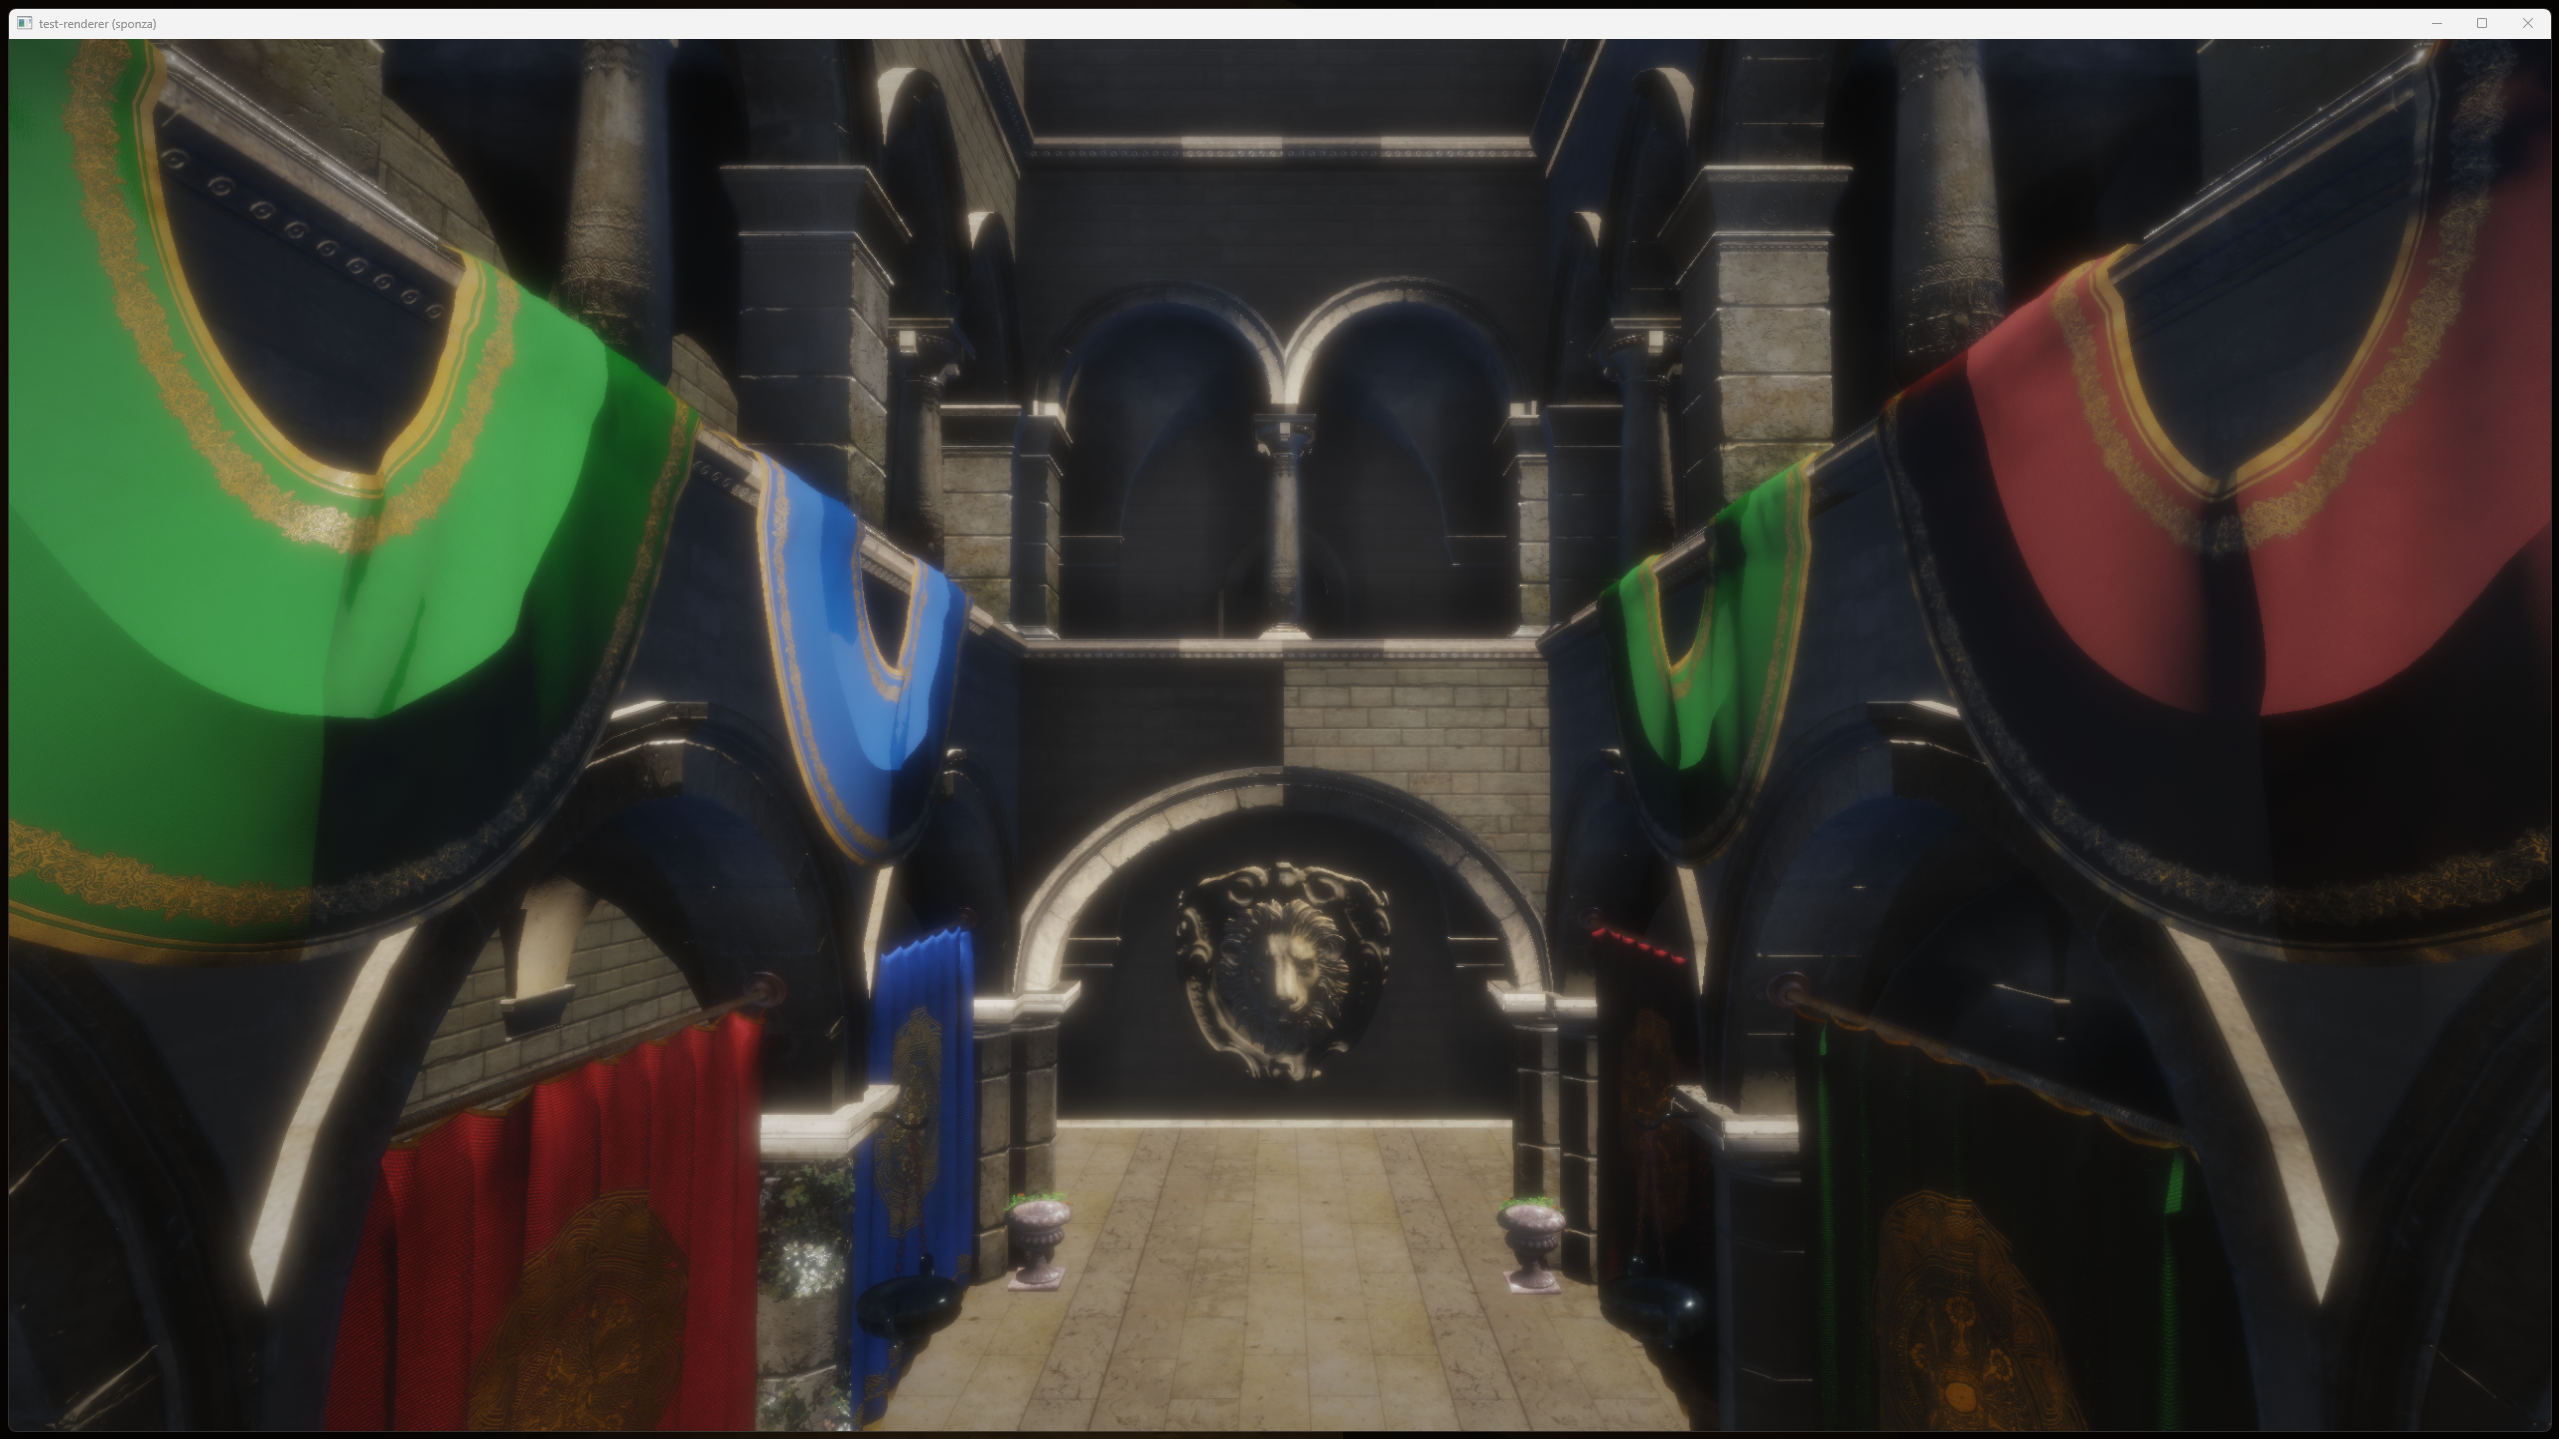
From this image we can spot that something is completely off with the lighting. My guess was that it had to do with choosing the wrong color space for the imported normal maps of the scene. Other than that, it wrote a model importer, did some shadow mapping and applied bloom! It even had a step where it baked irradiance probes for GI on startup on the CPU. I had a skim of the code, and found some interesting hacks that it did alongside some repetitive patterns that I could maybe create helpers for, so I made some adjustments to my RHI. One such issue was that my RHI didn't allow a depth only pass without any color attachments for example, which meant AI had to create a temporary texture to render to and throw it away if it wanted to do a depth pre-pass.
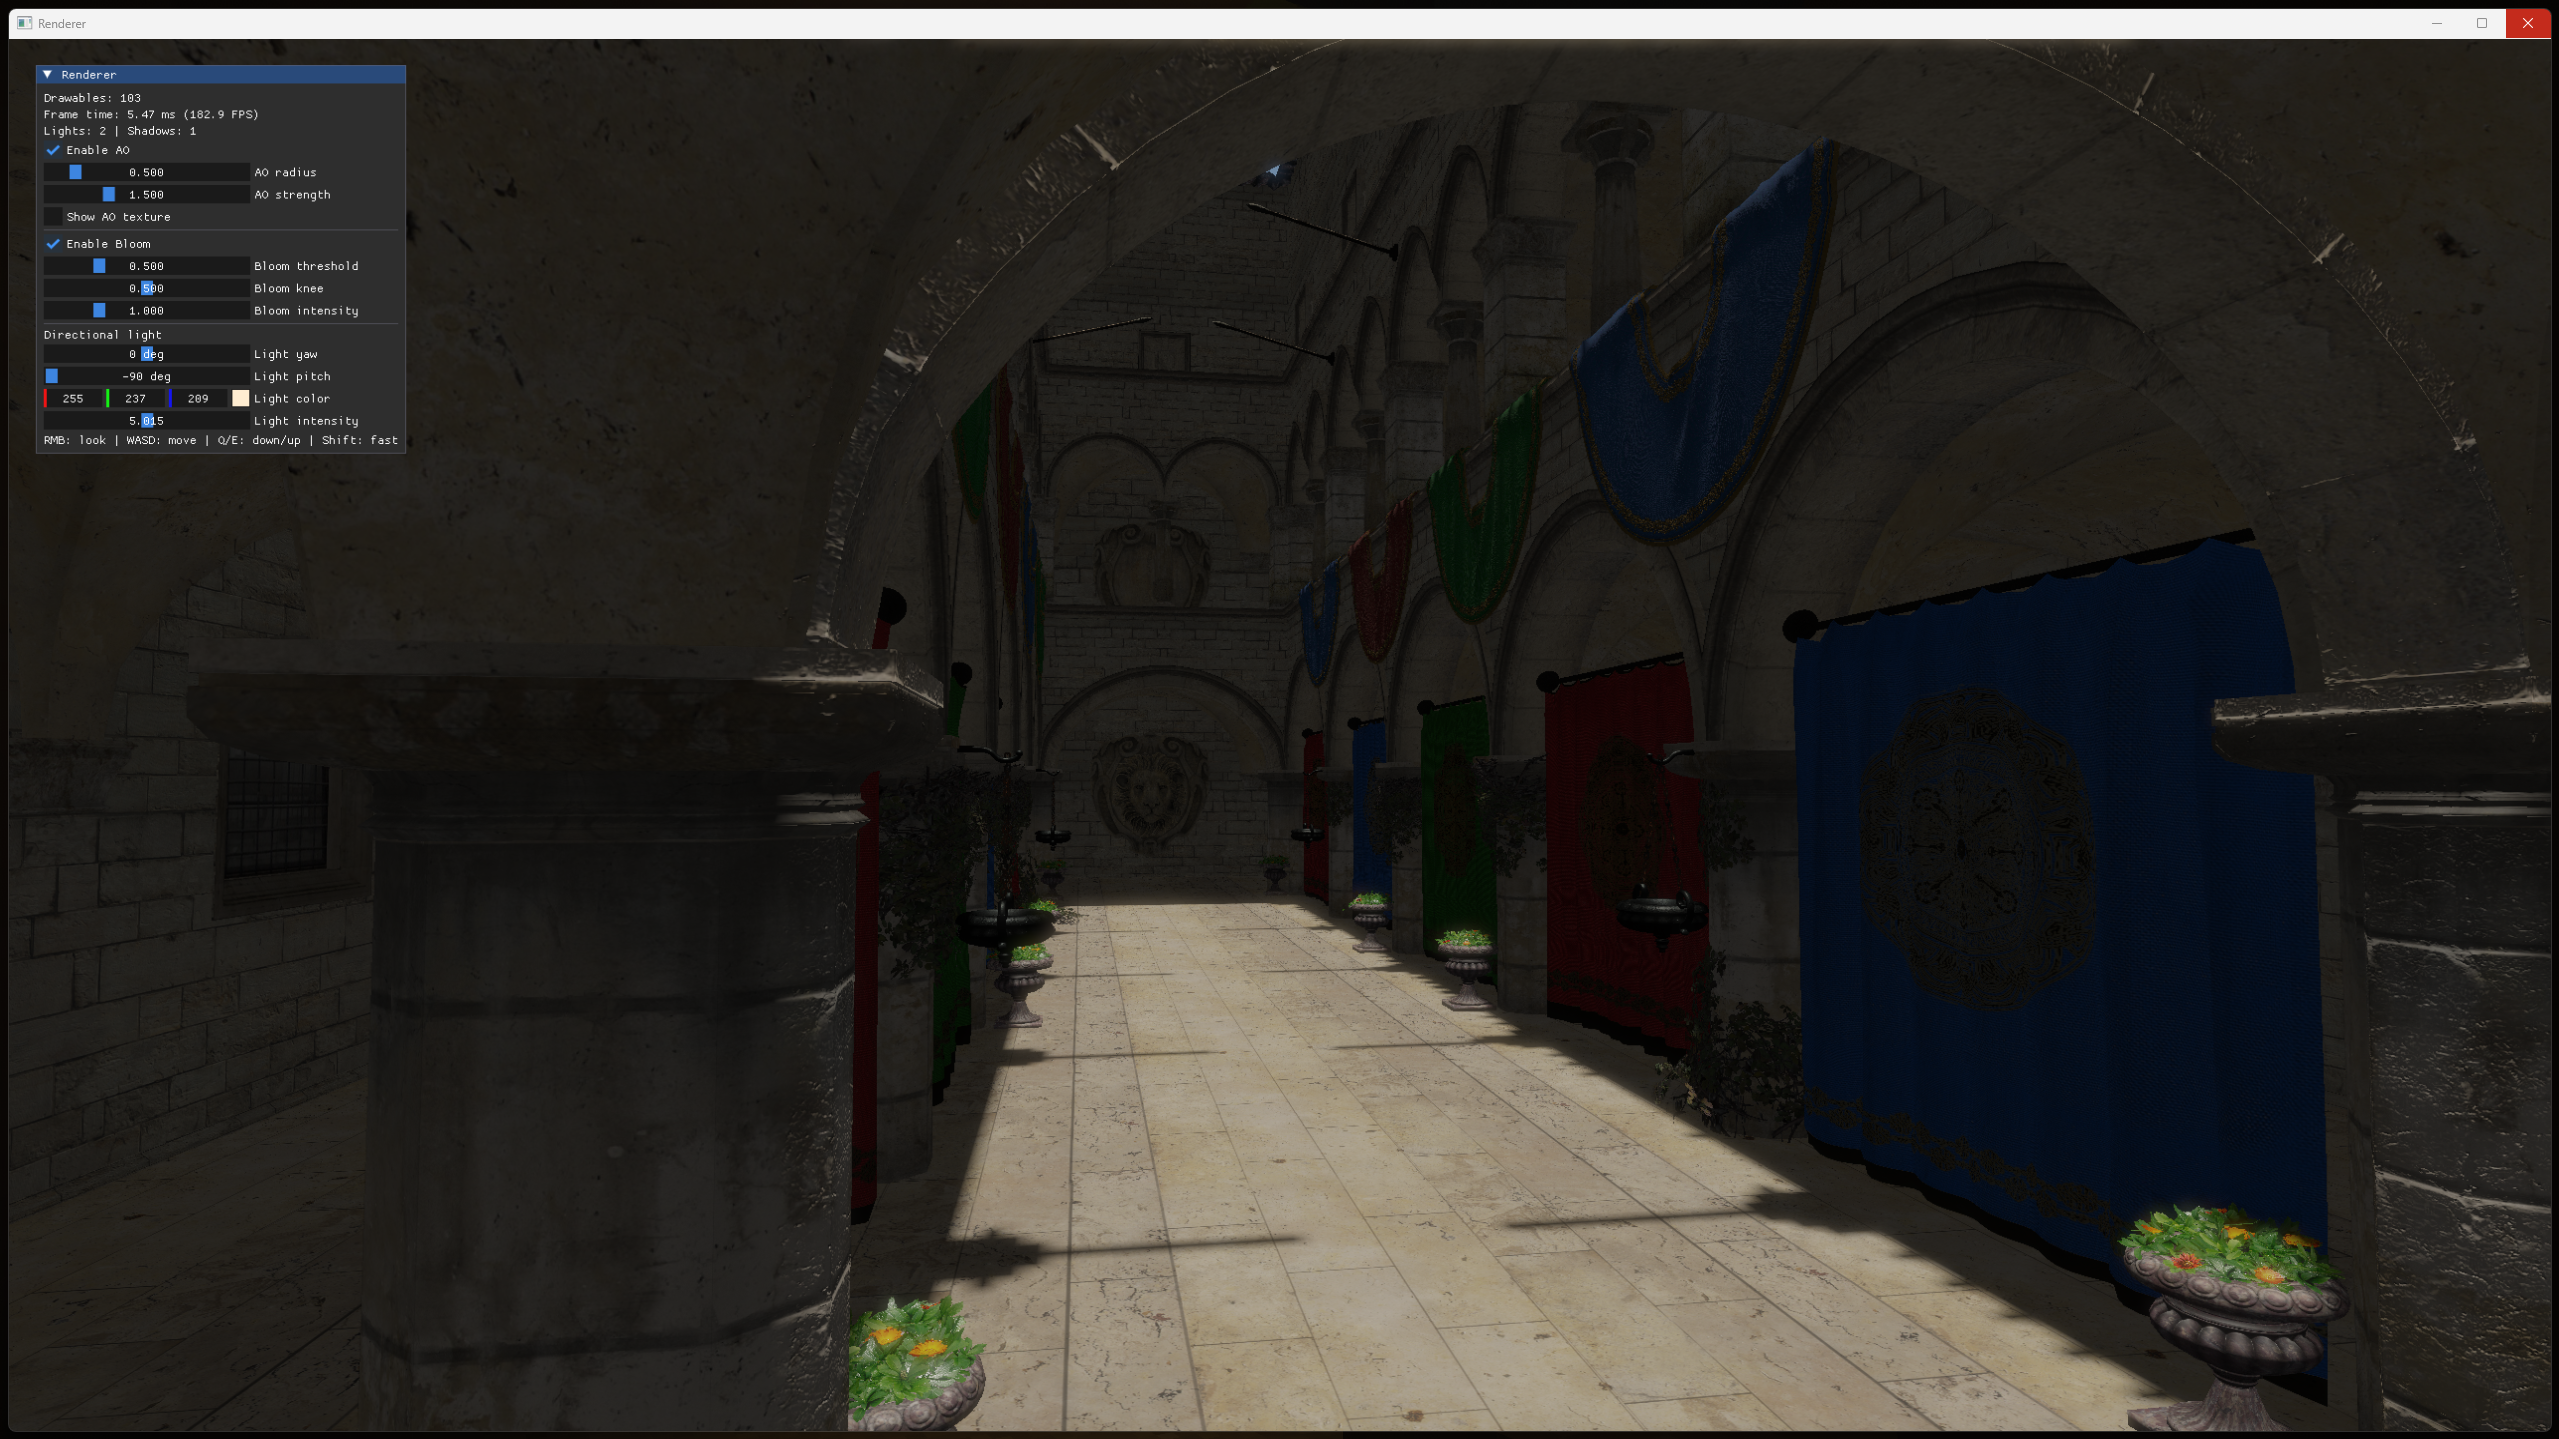
After that, I decided it was time to undertake a non-vibecoded version myself. I wrote a basic gLTF importer using fastgltf, wrote a PBR shader following the Cook-Torrance BRDF, added shadow mapping, Ambient Occlusion, and Bloom. The main focus of this was to learn all of these rendering techniques from first principles and implement them myself.
Currently, the renderer serves as a demo for my RHI, and I'm currently working up a better version of it to hook up to an engine in the future. You can see my non-vibecoded result below:
You can check out the repository here, it's open source. I plan to write a blog post on designing my new version soon.